
Connecting to your Domain Data and Computers via Anywhere Access
You can use Anywhere Access website within Windows Server to securely access shared folders, resources and domain computers by following the steps below. This can be used from any internet connected devices including phones.
Special Note:
You will need the address of your Anywhere Access website as well as your domain user ID and password to log into the
Go to the Anywhere Access website
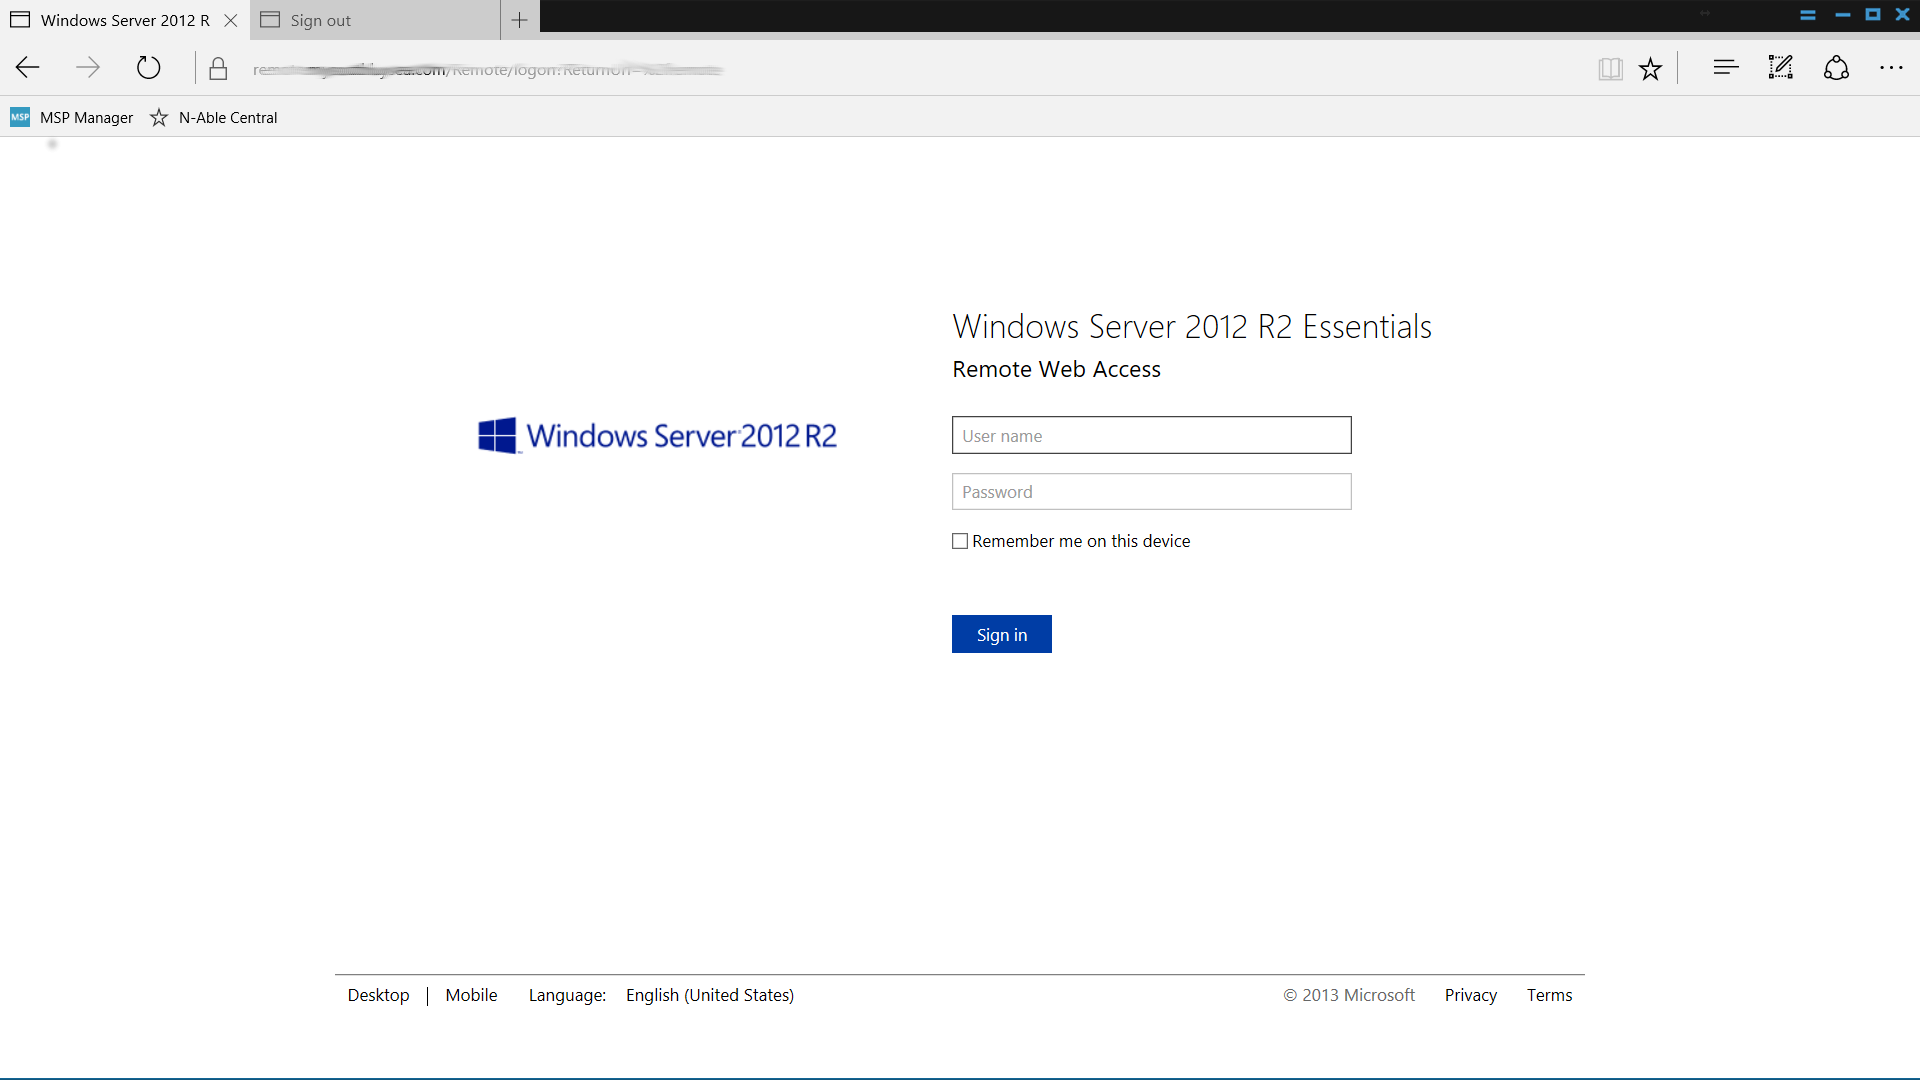
It will typically be something like: https://remote.YOUR DOMAIN NAME.com
Enter your domain credentials and select SIGN IN
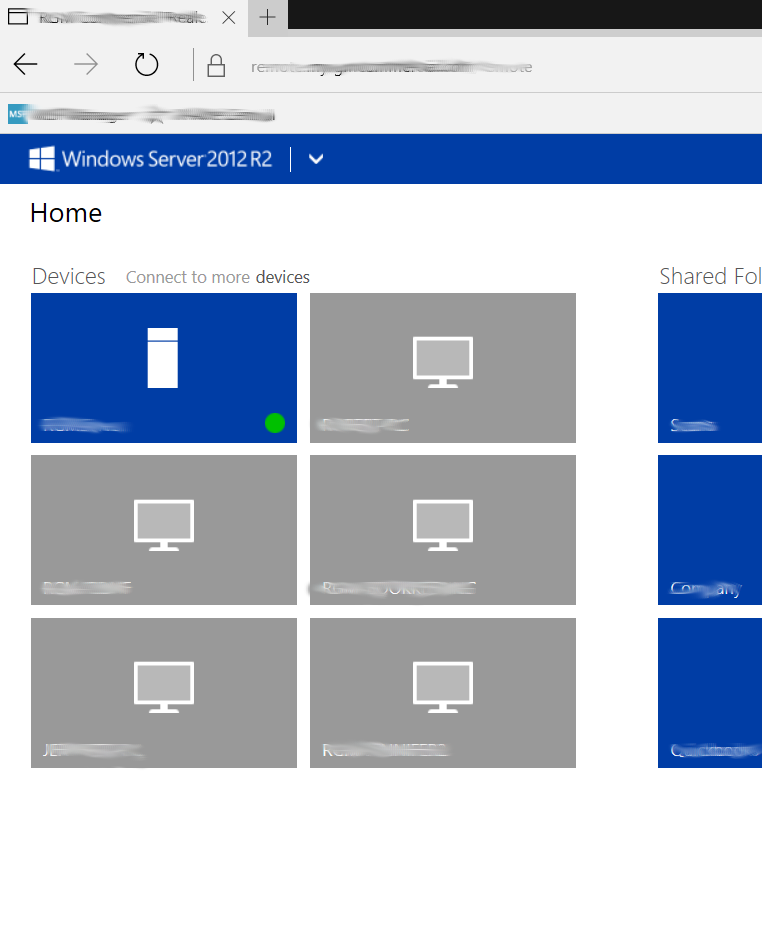
After entering your domain credentials you will see your domains remote access website home page.

Viewing your company data
In the Shared Folders section, select the desired shared folder link to view the contents off that share
Access to these shares is controlled by the same permissions as defined within your domain.
Clicking on a document link will download the document to your client computer, you can then view or edit the document as desired as long as you have the necessary program (i.e word, excel, etc.) installed on your client computer
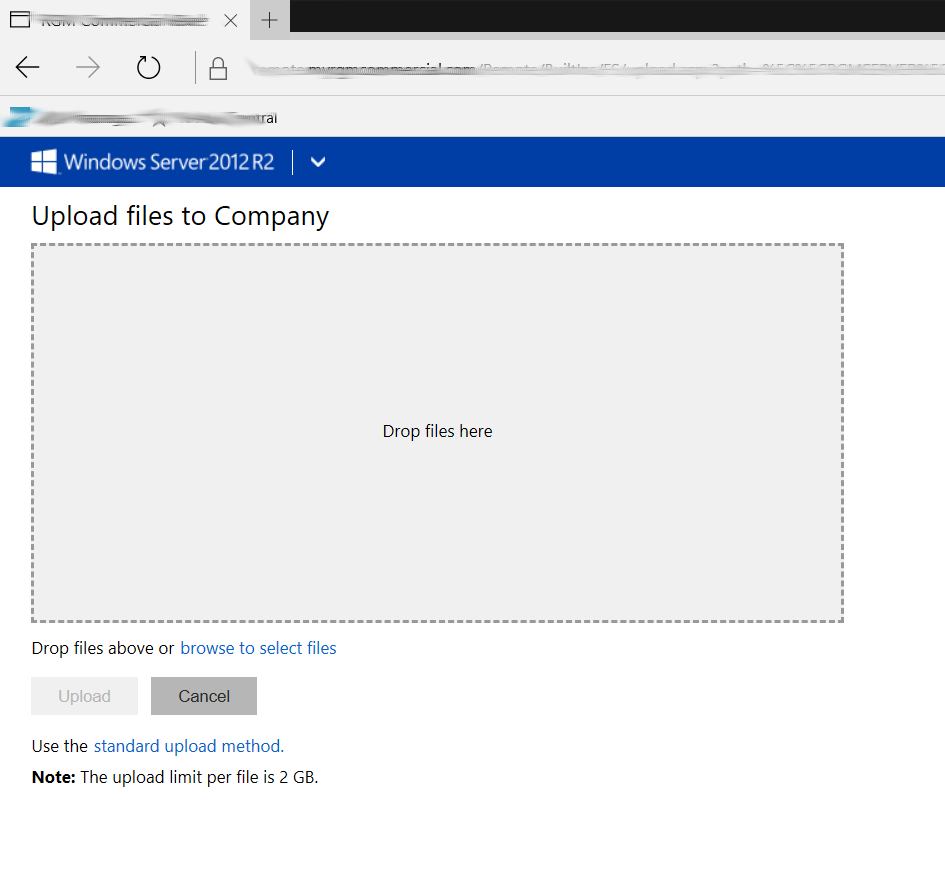
To upload a document, go to the desired folder then select the UPLOAD link from the top of the page. Use the Upload interface to add your document(s).
Connecting to your domain computer
IMPORTANT NOTE: Connectivity to your domain computer requires that your computer be joined to the domain via the Windows Server connector software. If this is not installed, your computer will not be visible from this interface
From the DEVICES section select your domain computer
If you do not see your computer on the main page.
Select the DEVICES link from the main menu
If you do not see your computer at all, ensure your IT vendor has assigned your computer to the Anywhere Access website
Click your computer name to connect
Your browser will display a bar indicating the Add On Remote Desktop Services ActiveX Client wants to run.
![]()
Select ALLOW.
The Remote desktop connection dialog box will be displayed
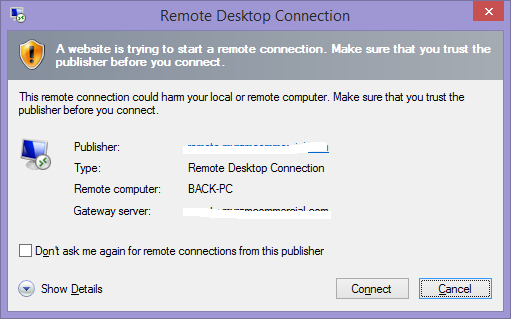
Click CONNECT
The Windows Security window will be displayed
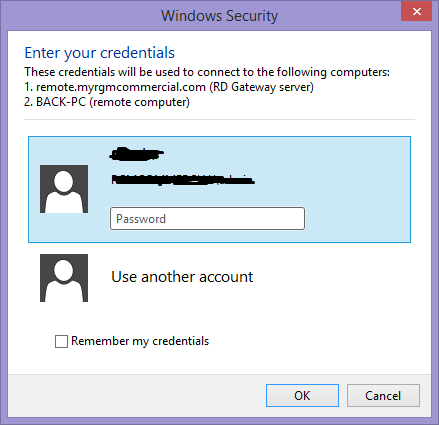
Enter your domain credentials
Click OK
The Remote Desktop Connection widow will be displayed
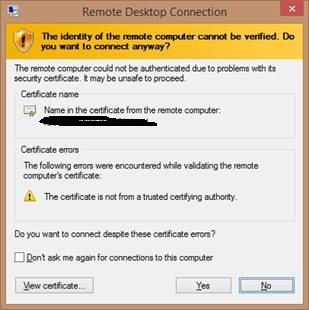
Click YES
You will now be connected to your desktop computer.