
Using Tables to Align Email Signatures
A common challenge when creating an Outlook signature, is difficulties aligning the various parts of your signature to each other, as well as within the Email message.
Using tabs and spaces to align logos, titles, web addresses, and social media links/logos, can result in a look that is dramatically different when received by clients.
A simple solution is to place all your signature elements into a small table in Word, where you can control the spacing of the various elements relative to each other, as well as control the alignment of these elements within the message
After which you can easily insert the table (and the elements within) into your Outlook signature.
Using the templates below:
- Fill in the table with your desired contact information, images, etc.
- Add, remove and merge cells to accommodate your desired signature elements
- Adjust the height and width of cells to fit the signature elements
- Adjust the vertical and horizontal alignment of each cell to your desired signature aesthetic
Once you have all the elements in the table as desired, you will need to align the table as you want it to appear in the email message. left, centered or right justified.
- Make the table move selector icon appear
 by clicking on any cell in the table
 - Click on the table move selector to select the entire table
- From the Word ribbon select the HOME tab
- Adjust the alignment of the table by selecting the
 Align Left, Align Right or Center tools
When your signature block is compete, you will want to remove the borders of the table.
- Make the table move selector icon appear by clicking on any cell in the table
- Click on the table move selector to select the entire table
- In the office ribbon, select the DESIGN tabIn the design ribbon select the BORDERS tool
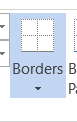
- From the Borders tool menu select NO BORDER
Now that you have the completed signature block, you can copy and paste the entire table (and its contents) into the Outlook Signature tool
TIPS:
- You can use empty rows and columns within the tables, to create white space within you signature.
- Ensure you have the table cells tall/wide enough to accommodate your images, or you will have cropped images in your signature.
- If you have logos or icons with embedded hyperlinks, It’s easier to create those links within Word, before exporting to Outlook.
- When inserting your table into the Outlook signature tool, place a few carriage returns above the table, this will give you some extra space to work with when you create a new message.
- Try to use only one table for all signature elements, multiple tables and nested tables don’t always work as expected within an outlook message.
- Save this document with your various signatures for later reference, if you have to change email providers, programs or companies.
Use the templates below as guides and ideas as to what you can do.
Click here to download the Word Document with tables and instructions
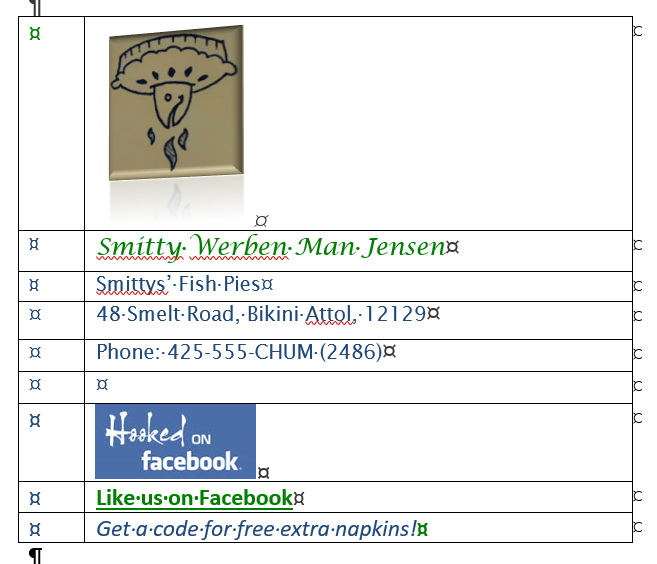
Simple:
Use this to align your signature elements relative to each other.

Left Aligned:
Use this type of table to align your signature elements to line up along the left margin your message. Change the width of the empty column on the left, to adjust the distance from the left margin, to create an indention.
Center Aligned:
Use this type of table to create a signature that resides in the middle of your message

Separated Elements:
Use this type of table to create a separation between signature items, such as special offers or events. Consider using additional space, and a bold border to accentuate the special element(s).
